A Workflow for Tracking Academic Paper Research
March 12, 2017
One of the main issues that I struggle with as I write my thesis is keeping track of the literature that I am exposed to and will eventually end up reading and citing. While I’d like to recall every word I read (hello NZT-48), my brain hasn’t reached the ability to do that. Exploring memory palaces and other techniques of memorization might help initially, but indexing everything you read is not an easy task. While I’d like to spend a couple of years working on exploring memorization techniques that could help me instantly recall a quote from a paper I previously read, I would rather spend that time finishing this thesis and graduating, hopefully to a job.
The Issues with Pen and Paper
Printing hard copies of academic papers, reading through them whilst annotating, highlighting and circling sentences, quotes and paragraphs was my initial approach. While an immense feeling of satisfaction follows flipping that last references page, digestion of of the content read usually takes a read or two followed by some mental rest. My main issues with the pen and paper approach are the following:
Storage
All those hard copies require physical storage space. While (alphabetically, topically) sorted binders help, if you’re writing a thesis storage is going to get heavy and large. Lugging your Binder of Prospective Graduation is not fun. Left that binder at home? “Why work today?” I pondered many a time.
Limited Methods of Sorting
Initially my first attempt at sorting this mess was to use a binder organized into a stack structure. The higher up the paper was in the stack, the more important it was to me. This usually worked for the top two or three paper with others falling into the abyss of non-importance. This was also a temporal solution where some papers would lie on top for an amount of time and then disappear into the abyss being replaced by a newly important paper. This system was not sustainable. Additionally, while the possibility of sorting by importance could’ve extending to a topical-based form of importance, the task of pushing, popping, and peeking into this stack was life shortening. This also constrained me to one method of sorting, by importance. Any interest in sorting by some other criteria was a mind-numbing struggle to not give up grad school and use these paper as toilet paper.
Searching Notes and Content
You know all that highlighting, annotating, and circling? Well, if you don’t somehow figure out a way to map where everything is in your brain, it’s not going to be easy to go back and find specific terms, titles, and words of interest. This is by far one my biggest issues with the pen and paper approach. That one quote you recall reading and want to incorporate into this beautiful paragraph you have in the making? Well good luck spending an hour looking for it.
Retrieval and Modification
Having to recall where a paper is and having to sometimes sequentially iterate (within a topic) to its position was something that got old quickly. Sometimes having to add more commentary, annotation, and overall critique was limited by physical space on the paper itself.
The Issues with Soft Copies
As you can obviously tell, trying to keep track of hard copies of academic papers was not efficient. My second attempt was to try to have only digital copies of the literature I was reading. Now this solved the issues of storage and searching, but sorting and presentation were still issues. Academic papers littering folders upon folders of general topic names was progress but it came with its own set of issues.
Visualizing Structure
Files inside directories aren’t very visual. Unless one’s brain can build elaborate directory trees (mine’s doesn’t) sifting through folders upon folders is not very visual. I like visual.
Paper State
Windows doesn’t, to my knowledge, support out of the box forms of customized file states or tags. I know MacOS has these renameble color tags that you can attach to any file, but I have a PC and wasn’t considering a move to another platform (see how I avoided the platform war, everyone can be happy by avoiding the platform way, platform war BAD!). How do I know which papers I’m hoping to read next or which ones are more of a priority read?
Reading off of Backlit Screens
In this section, I would like to express my hate for reading academic papers off of a monitor. That’s it. This is me expressing subjective hate.
A Possible Solution
In my attempt to stop complaining and actually get some work done, the need for a workflow where I could sort papers into topics (and other criteria such as publication date), search annotations and content, efficiently label these papers based on multiple labels representing current state (level of importance, annotated/not annotated, read/unread), while also being able to visualize and quickly modify everything that I have collected, and access the content of your research from different locations felt like a daunting task. Thankfully, after wasting enough time to be very behind on my research, I decided a new workflow was necessary to be able to move on with my life.
In comes Trello. Trello is a web-based project management application I used before to keep track of weekly meetings and progress with my adviser. The way it works is that you have a board and in each board you have a bunch of lists. Each list has a set of titled cards that can contain descriptions, attachments, labels, due dates, comments. This generic structure provides for the ability of users to make these boards whatever they want. Here are examples of people using Trello boards for everything from Agile Development to lists of Personal Work Goals. The initial lack of native direction with how to use this software was actually a bit confusing but after checking out some of the examples, I had some ideas as to how this could be used.
Initial Setup
-
Create a Board and rename it to something appropriate, and by “appropriate,” I mean witty. Give that board some color!
-
Create a “Backlog” list that will serve to contain the papers whose abstracts you deem mildly interesting.
-
Create a number of lists with general topic names that you believe the papers you’re research could fall under. These will change and grow as your research goes along and as you get better at identifying your research goals.
-
(Optional) Create a “Prompts” list where you can have cards like “Terms to Research” or “People to Contact”. Having everything you think about recorded in a structured, centralized manner helps on the long run.
Workflow
-
Do your research, find a paper, download it locally
-
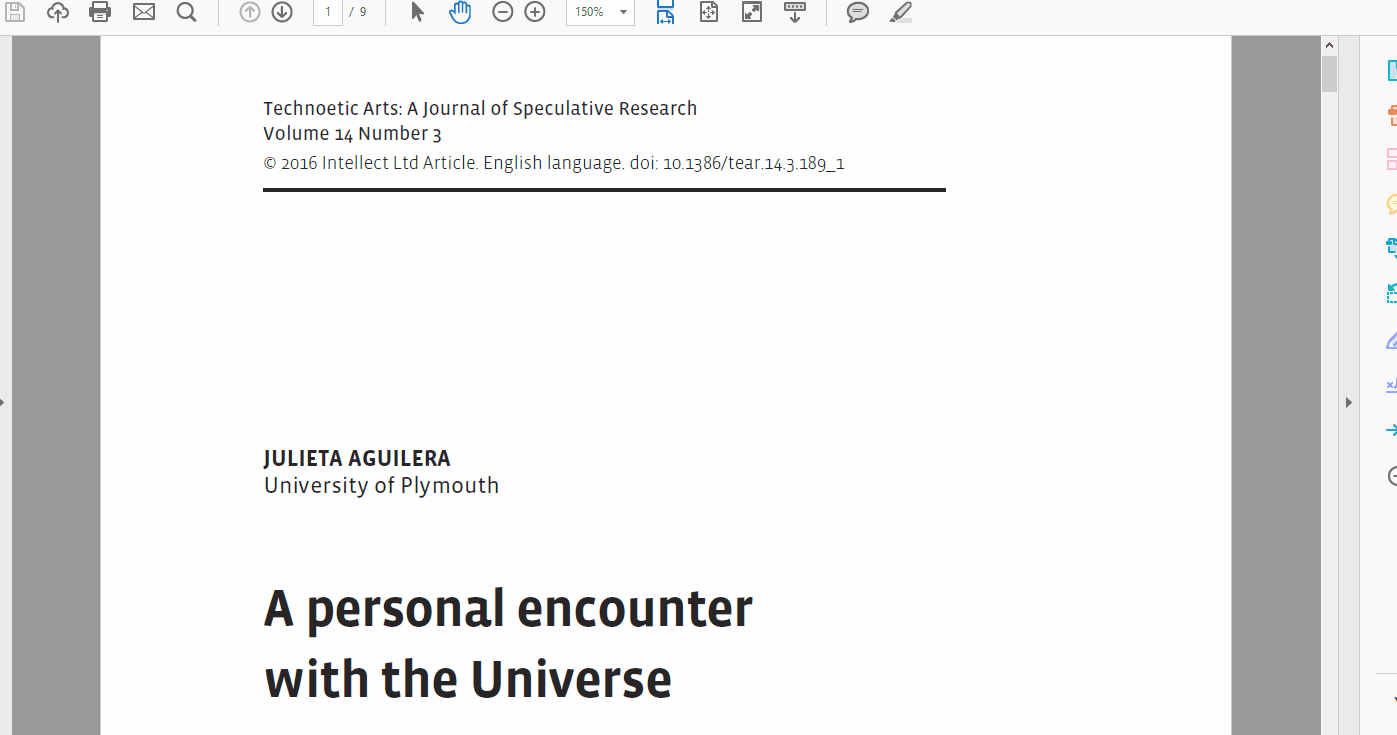
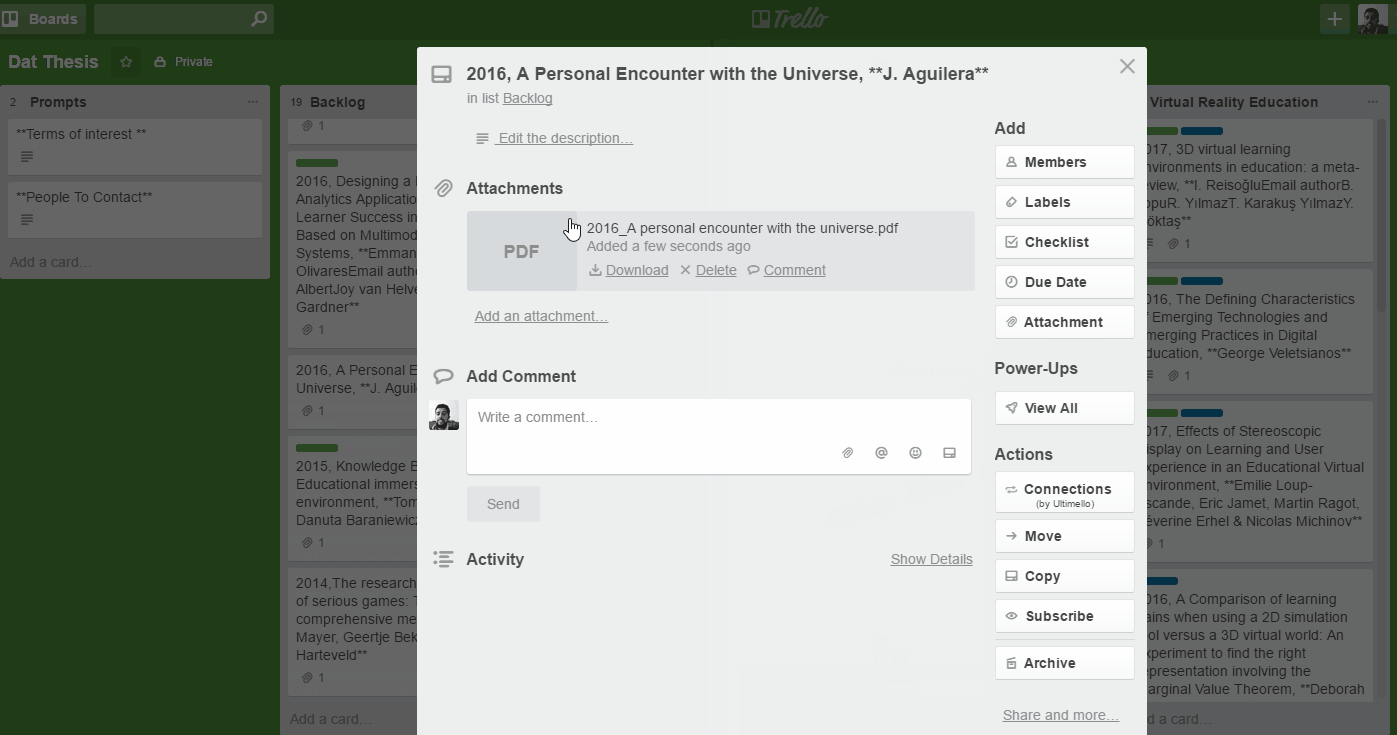
Under the “Backlog” list, make a card with the [paper name, publication date, authors]
-
Once you’ve read paper and annotated it (I use acrobat reader seeing as most papers are in pdf format), attach the annotated pdf to corresponding card

-
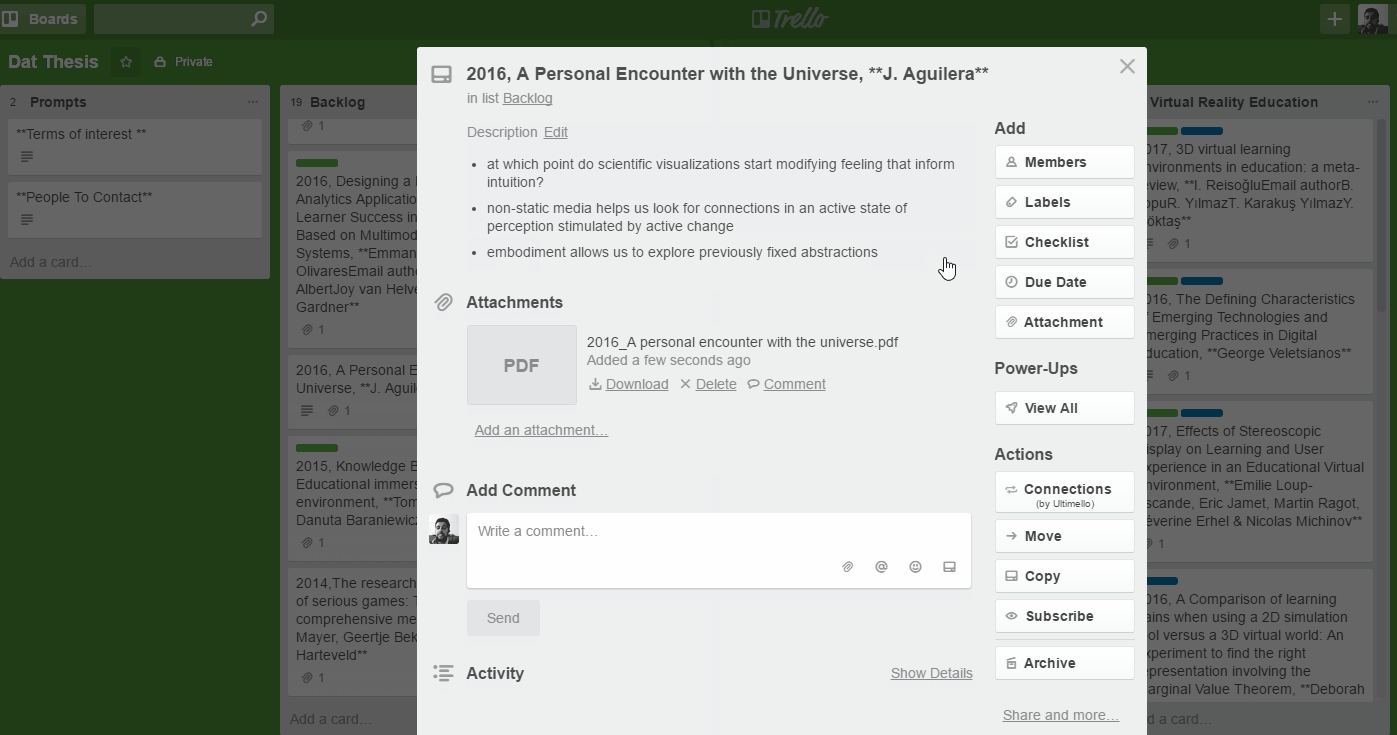
Add general headlines or core points taken from paper into the card description
-
Add “annotated” label (any other needed labels) to card
-
Move card from “Backlog” list to corresponding topical list sorted in reverse chronologically (descending alphabetically)

Naming Convention
[publication date, paper name, authors]
The publication date is extremely important in identifying where the paper lies within the research continuum especially when each paper is sorted under topical lists (using alphabetical sort on a list will automatically set that up for you). Secondly, the paper’s name is core to identifying the topic of that paper. Finally, the inclusion of the authors’ names allow to follow trends of publications with similar authors and allows for a comfortable level of granularity if one where to search the whole board for their names meaning the result of that search would return the cards themselves.
Papers Ordered Reverse-chronologically based on Publication Date in each List
Papers on the top of the list are newer paper while papers farther down the list are older ones. This helps me place the publication within the research continuum with the card higher up being the most recent publications.
Color Coded State Labels
Currently I’m using a blue label to signify an “Annotated” paper state and a green label to subjectively give that paper an “Important” state. I expect that more labels will naturally come about as my research grows but for now, a state that symbolizes that I have read and annotated a paper and one that labels a paper as important or a priority to read is enough. Also try to associate the colors of those labels with how you feel about the corresponding colors. Blue for me is completed, and green means this is important. It’s all very subjective so go with what you feel.
Formatted Descriptions for Cards
As mentioned before each card can have a description which can be formatted using Markdown. If you’re interested in learning more about some of the things you can do with Markdown, check this out.
Automatic Sorting
Sorting cards isn’t supported directly from the application. Ultimello is a Chrome Extension that you can use to add that ability. This extension has been extremely helpful and includes sorting by creation date, labels, title, and due date. Surprised this hasn’t been built in.
Collaborative Workflow
I can add my adviser in anything on Trello. I can assign him a paper to give me feedback on and even tag him in any of my comments, bringing his attention to my thoughts within context of a research topic or paper. Additionally, you can use any of the many “Power-ups” that include plugins for Slack, Evernote, and Github that can further enhance your collaborative workflow.
Issues with Current Solution
Card Titles
Card titles can’t be modified to include typographical emphases (bold, italics, strike though). This would’ve been helpful to modify each section of the naming convention so that they are easily distinguishable. A workaround would be to install this script that modifies the card content using markdown. This can be used if you use Firefox as a browser (chrome disables the script after restarting).
Card Content
Cards can include a wide variety of information. You can set descriptions, due dates, checklists, comments, and other attachments. Currently the three things I use are: the description (where I include some of the major headlines from the annotated paper), the attachment feature (where I attach the annotated paper so that I can go back to it for a more in depth re-read), and the comment feature (that allows me to keep track some of my general thoughts related to the paper and have discussions with my adviser). I have yet to fully utilize the full potential of each card and hope I can find better uses of some of the more advanced card attributes.
Still reading off that monitor
Please see expressed subjective hate in the “Issues with Soft Copies” section.
Conclusion
This workflow has helped me feel much more confident about being able to track thoughts, annotations, and paper state. It has also provided for a layer of structured presentation to the content I am researching using the Board, List, Card structure. Finally, it has allowed me to better access my research from multiple locations and collaborate remotely with others.
In the end, I have found that keeping track of the research I’m doing is useless if I’m not actively writing. I didn’t want to clutter this piece with the writing process, but I will hopefully discuss how writing can fit within this workflow once I figure that out.
If you have any suggestions as to how to better this workflow, please do reach out.